Why Progress Photos Lie and How to Take Honest Ones
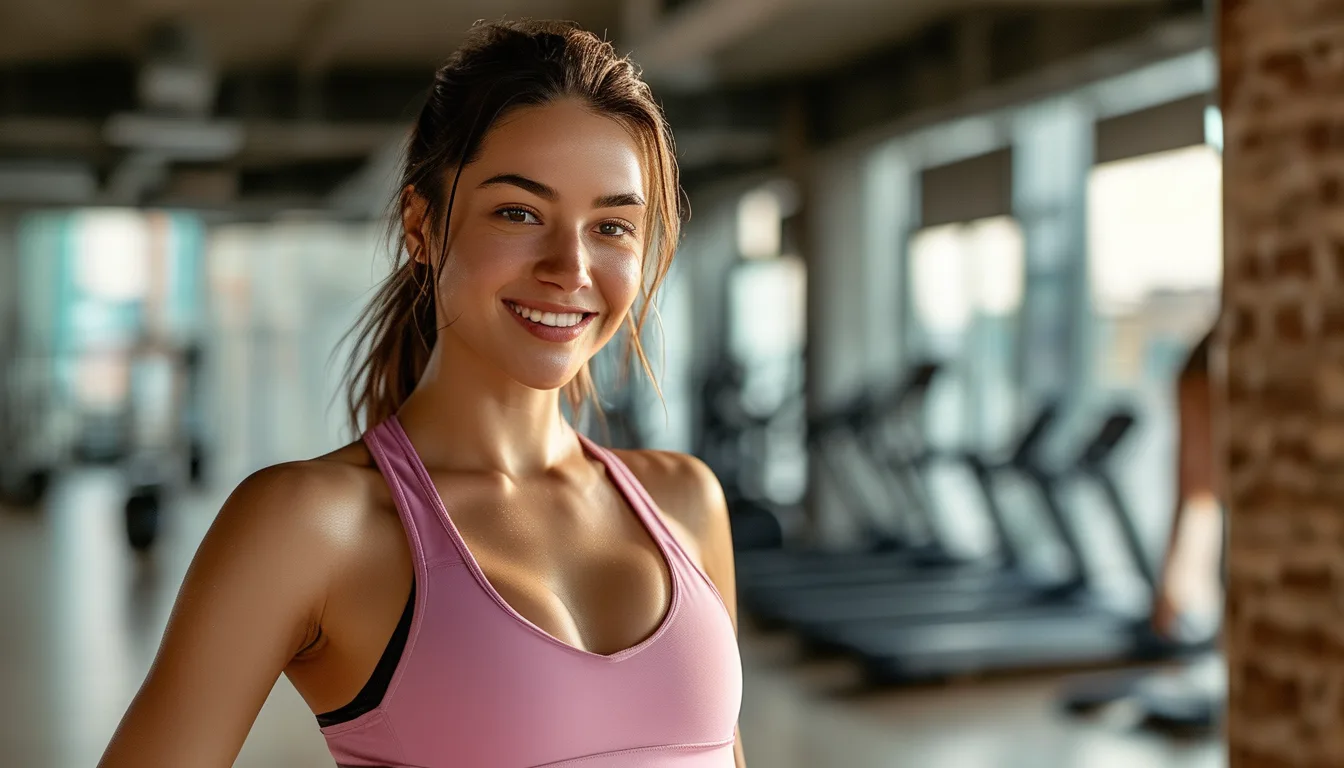
Quick Answer: Standardise five variables and the photos become comparable: time of day (first thing in the morning, fasted), lighting (the same room at the same time, front-facing and diffuse - never overhead), camera height (chest height, on a fixed surface), distance (marked on the floor), and pose (relaxed, arms slightly away from the body, same three angles). Overhead lighting is the single largest distortion - it casts shadows that read as definition and can change apparent body composition dramatically between two photos taken minutes apart.
Do this and the photos start telling you something a scale cannot.
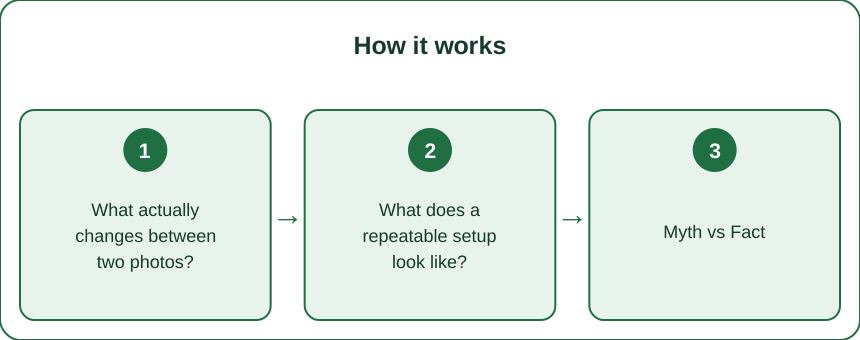
What actually changes between two photos?
Almost everything except your body.
Lighting direction is the biggest factor by a wide margin. Overhead light casts downward shadows that carve out abdominal and shoulder definition. The same body under flat front lighting looks completely different, and gym lighting is designed for exactly this effect.
Time of day changes your body genuinely. Overnight you lose fluid; through the day you accumulate food, water, and mild swelling. Morning and evening photos of the same body differ visibly, and it is not fat.
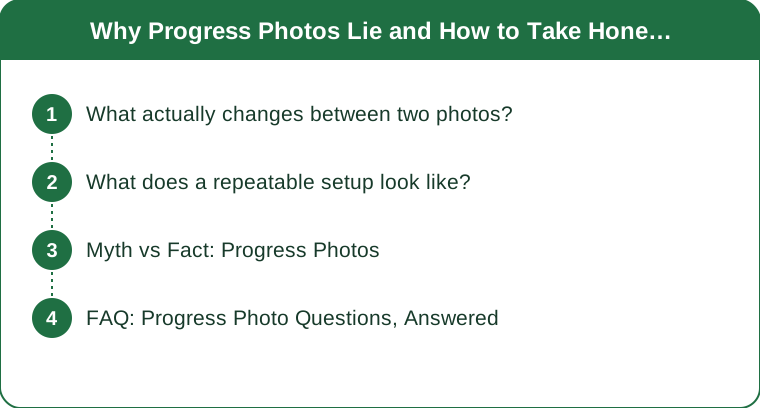
Camera height changes proportions. A phone held low lengthens legs and shortens the torso; held high it does the reverse. A few centimetres of camera height difference is enough to look like a body change.
Distance and lens distortion matter. Phone wide-angle lenses distort whatever is closest to them. Standing 30cm closer makes a meaningful difference, especially at the edges of the frame.
Posture and breath change more than anything else. Standing tall versus relaxed, exhaled versus mid-breath, weight on one hip versus even. These produce differences far larger than six weeks of genuine progress.
And the sequence matters psychologically: you take the after photo when you feel good, in good light, standing well. The before photo was usually taken in the opposite conditions, which manufactures a comparison that was never fair in either direction.
What does a repeatable setup look like?
Ten minutes to set up once, then thirty seconds a month.
Time: first thing in the morning, after the bathroom, before eating or drinking. This is the most consistent physiological state available.
Lighting: the same room, the same time of day, with light coming from in front of you. A window works well on an overcast day. Turn off overhead lights entirely - they are the main culprit. If you must use artificial light, put a lamp in front of you rather than above.
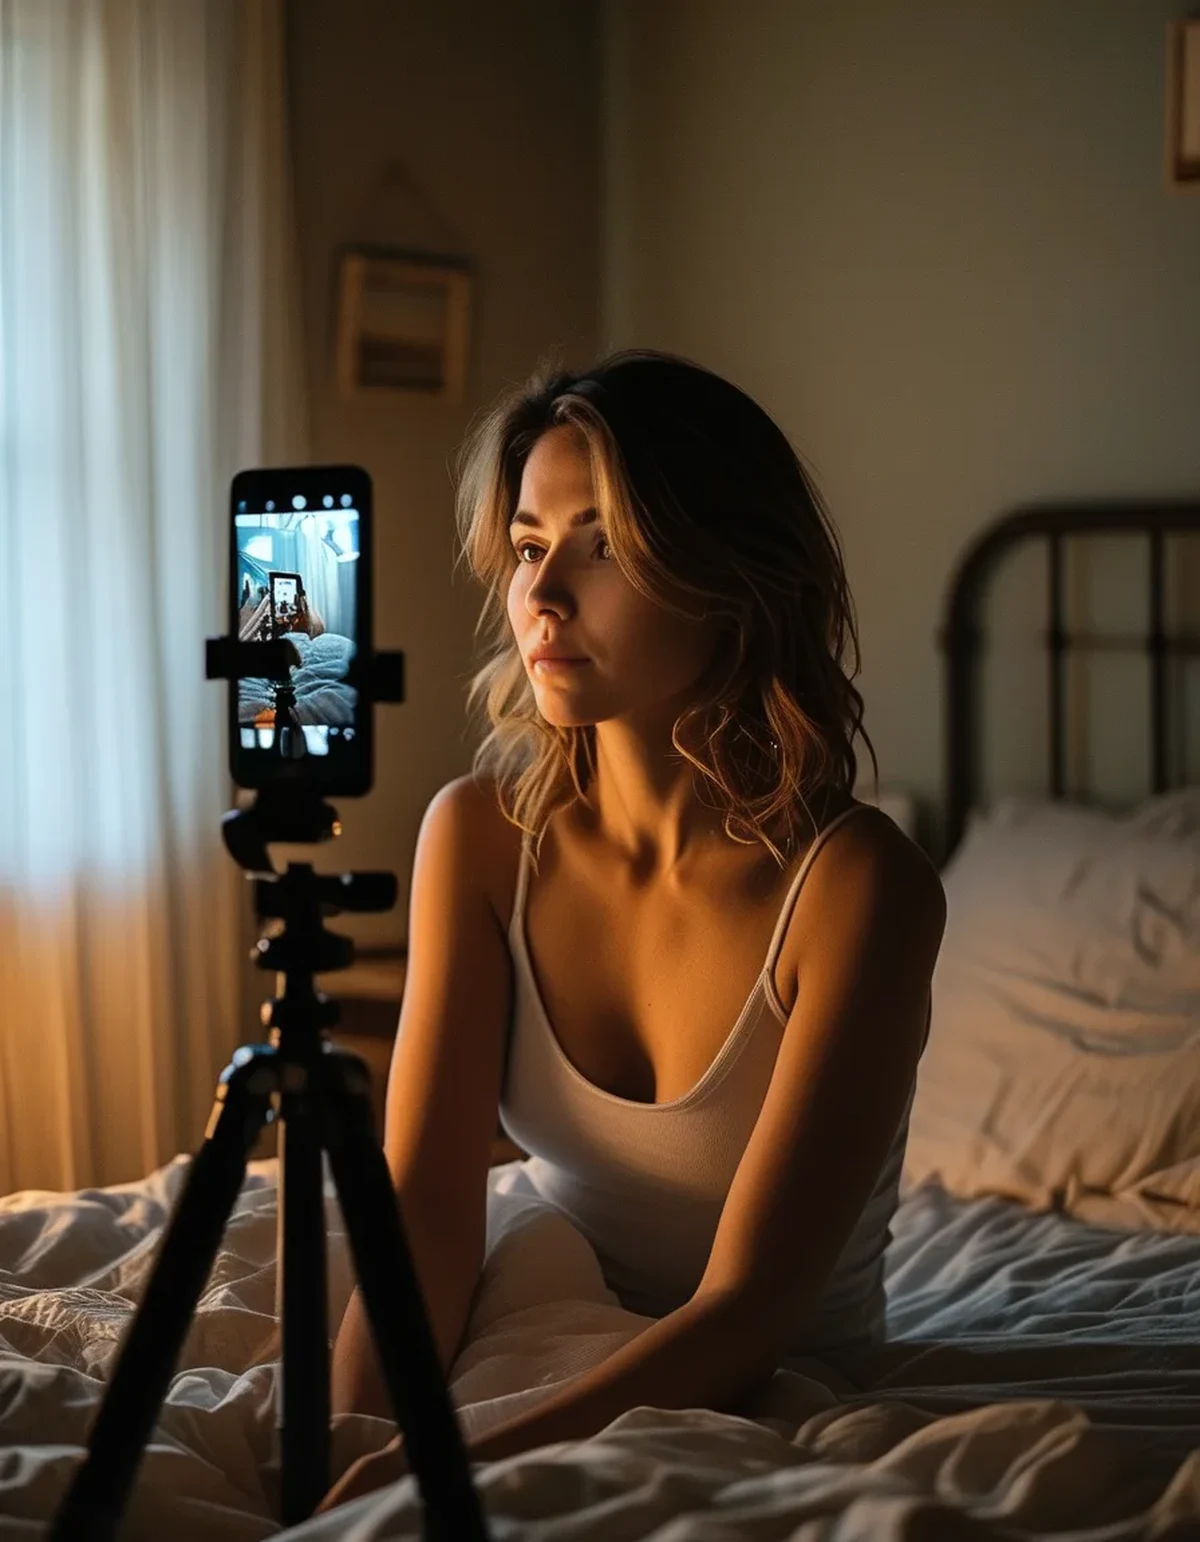
Camera: on a fixed surface at chest height, not handheld. A shelf, a stack of books, a cheap tripod. Use the self-timer, not a mirror shot - mirror photos add reflection distortion and force an arm position.
Distance: mark the floor. A small piece of tape. Same spot every time, and stand with feet at a marked width.
Pose: three angles - front, side, back. Relaxed, arms slightly away from the body so the silhouette is visible, weight even on both feet, normal exhale. Do not flex, and do not suck in. The point is comparability, not the best possible photo.
Clothing: the same items every time, fitted enough to show the outline. Colour matters too - the same colour absorbs and reflects light consistently.
Frequency: every four weeks. Weekly photos show noise and produce discouragement. Four weeks is roughly the shortest interval where genuine change is visible.
Myth vs Fact: Progress Photos
Myth: The scale is more objective than photos. Fact: Scale weight fluctuates by 1 to 2kg within a single day from food, fluid, sodium, and hormonal cycle. Standardised photos taken monthly are arguably more informative about body composition than daily weights - the problem has always been standardisation, not the medium.
Myth: Good lighting means flattering lighting. Fact: Flattering lighting is precisely what makes photos non-comparable. You want boring, flat, front-facing light - the goal is measurement, not a portrait.
Myth: Gym mirrors are more accurate than photos. Fact: Gym mirrors are frequently combined with directional overhead lighting for exactly the effect it produces, and some are not perfectly flat. The mirror is the least controlled comparison available.
Myth: If you cannot see change in four weeks, nothing is happening. Fact: Visible change generally requires a meaningful shift in body composition, which takes longer than most people expect. Strength numbers and measurements change before photos do, which is why they are better short-term feedback.
Myth: You should take photos when you feel your best. Fact: That guarantees a biased series. Take them on schedule regardless of how you feel, in the same conditions - the value is entirely in the consistency.
FAQ: Progress Photo Questions, Answered
How often should I take progress photos?
Every four weeks. Weekly photos mostly capture fluid and food variation, which reads as noise and tends to be discouraging.
What time of day is best?
First thing in the morning, after using the bathroom and before eating or drinking. It is the most consistent state your body reaches.
Why do I look different in the gym mirror than at home?
Gym lighting is usually directional and overhead, which casts shadows that create the appearance of definition. Home lighting is typically flatter. Neither is wrong - they are different lighting conditions.
Should I flex in progress photos?
No. Relaxed, normal exhale, same pose every time. Flexed photos are harder to reproduce consistently, which defeats the purpose.
Can I use mirror selfies?
They are less reliable - reflection quality varies, the arm position changes the silhouette, and camera height is harder to keep constant. A phone on a fixed surface with a self-timer is much better.
What if I see no change after eight weeks?
Check your other measures first - strength numbers, tape measurements, how clothes fit. Photos are the slowest indicator to move. If nothing at all has changed across all measures, that is useful information about the plan rather than about you.
TL;DR:
- Standardise time of day, lighting, camera height, distance, and pose - then photos become comparable data.
- Overhead lighting is the largest distortion by far; use flat, front-facing light and turn ceiling lights off.
- Use a fixed surface at chest height with a self-timer, tape on the floor, same clothes, relaxed pose, normal exhale.
- Every four weeks, not weekly - shorter intervals mostly capture fluid and food.
- Take them on schedule regardless of how you feel; photos taken on good days produce a biased series.
The useful part is that once the setup is fixed, the photos stop being a mood and start being a measurement - which is the only version worth taking.
Keep Reading
This article is for general informational and styling purposes only. Fit, sizing, and product availability may vary.