Why Progress Photos Need the Same Mirror, the Same Spot, and the Same Time

Quick Answer: Progress photos are only comparable if you control four variables: the mirror and camera position, the lighting and time of day, the clothing, and your posture. Changing any one of them can create or hide the appearance of months of change. Mark your standing spot with tape, shoot at the same hour, wear the same two pieces, and stand relaxed rather than posed — then compare only photos taken under those conditions.
Most people take a starting photo in bad bathroom light and a second one twelve weeks later in a bright gym mirror, then conclude the program worked spectacularly or not at all. Neither conclusion is supported by the photos. Here is how to make them mean something.

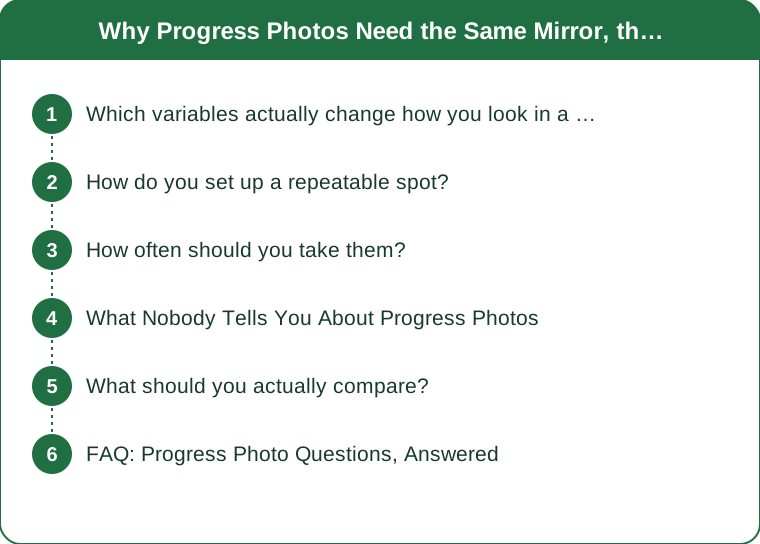
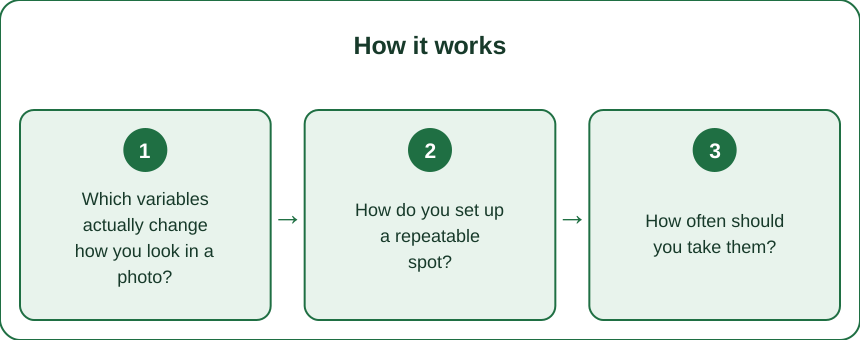
Which variables actually change how you look in a photo?
Four, in descending order of impact.
Lighting direction. Overhead light casts shadows downward, exaggerating definition on the abdomen and under the collarbones. Window light from the front flattens everything. The difference between the two on the same body, the same day, is larger than three months of training.
Camera height and distance. A phone held at chest height and one at hip height produce visibly different proportions. Lower angles lengthen legs and shorten the torso; higher angles do the reverse. Distance matters too — closer means more lens distortion at the edges.
Posture and timing within the day. Standing tall versus relaxed changes waist appearance considerably, and abdominal distension varies through the day with food and fluid. Morning, before eating, is the most repeatable condition.
Clothing. Waistband height, compression level, and even color all change the silhouette. A high-compression legging and a soft one on the same body read as two different bodies.
Control those four and what remains in the comparison is actual change.
How do you set up a repeatable spot?
Ten minutes once, then nothing to think about again.
Pick a mirror with a window to the side rather than behind you or directly overhead. Side light gives moderate, consistent shadow without the harshness of overhead fixtures.
Mark your feet. Two small pieces of tape on the floor, or a note of exactly which floorboard your heels touch. This fixes your distance from the mirror, which is the variable people get wrong most often.
Fix the phone height. Hold it at the same landmark on your body every time — sternum is easy to find consistently. Better still, prop the phone on a shelf or small tripod at a marked height and use the timer.
Note the time and the light. Write it in the photo album description: 7:15am, blinds half open. Then repeat it.
Take three shots each session: front, side, and back. The side view shows more real change than the front does for most people, and it is the one most often skipped.
How often should you take them?
Every four weeks is the sweet spot for most people.
Weekly photos capture too much noise — daily fluid shifts, food volume, and sleep quality all move the picture more than a week of training does. People who shoot weekly usually end up discouraged by variation that has nothing to do with progress.
Every twelve weeks is too infrequent to be motivating and makes it hard to link changes to what you were doing at the time.
At four weeks the signal exceeds the noise for most training and nutrition changes, and you build a series that shows a trend rather than two isolated points. Trends are far more informative than before-and-after pairs, which is why a six-photo series over five months tells you more than the first and last photo alone.
One exception: if you are in a period of deliberate weight change, six weeks may serve better, since visible change accumulates more slowly than the scale moves.

What Nobody Tells You About Progress Photos
You will not see change in your own photos when other people do.
This is well documented and it is not a confidence issue — it is a perception one. You see your body daily, so the reference point updates continuously and the comparison collapses. Someone who has not seen you in three months has a stale reference and sees the difference instantly.
The practical implication: do not judge progress from memory, judge it side by side. Open the two photos next to each other rather than scrolling between them. Scrolling defeats the comparison entirely.
Second thing nobody says: the side view is where recomposition shows up first, particularly through the midsection and the line from ribs to hip. If you only take front views, you will systematically underestimate change during a phase where weight is stable and composition is shifting.
Third: photos taken after training look different from photos taken before, because of the temporary blood flow to working muscle. It is real, it is short-lived, and it means a post-workout photo compared to a rest-day photo is not a fair pair.
And fourth — as daylight shortens over the coming weeks, the light in your marked spot will change even if nothing else does. Note that in your album, or move to a fixed artificial light source for the winter series.
What should you actually compare?
Specific things rather than a general impression.
Pick two or three landmarks and look at only those: the line at the side of the waist, the shoulder-to-waist ratio in the front view, the profile from the ribs to the hip in the side view. Vague overall looking produces vague conclusions, usually negative ones.
Pair the photos with two numbers. A waist measurement at the navel and a single strength number — the weight on one main lift — turns a subjective series into something with corroboration. When photos are ambiguous, the numbers usually are not.
Write one line with each photo: what your training and eating looked like that month. Six months later, this is the most valuable part of the whole exercise, because it tells you what was actually happening during the period that worked.
And set an expectation before you start: visible change on a reasonable program typically takes eight to twelve weeks to show in photos. Judging at four weeks is judging noise.
FAQ: Progress Photo Questions, Answered
Should I use the front camera or the rear one?
Rear camera with a timer, if you can prop the phone. Front cameras use a wider lens with more edge distortion and generally lower resolution. If you are shooting in a mirror, the rear camera photographs the reflection, which is fine as long as you do it the same way every time.
Does the mirror itself distort my shape?
Slightly, yes. Inexpensive mirrors, especially tall thin ones mounted on doors, can have subtle waves that stretch or compress parts of the reflection. That is another reason to use one mirror consistently — the distortion stays constant and cancels out of the comparison.
Should I flex or stand relaxed?
Relaxed, as your standard. Flexed photos are fine as an extra but they depend heavily on how hard you flexed that day, which is not a controlled variable. Relaxed standing is far more repeatable.
TL;DR:
- Lighting, camera position, posture, and clothing change your appearance more than months of training do.
- Tape your foot position, fix the phone height, shoot at the same morning hour, and wear the same two pieces.
- Every four weeks is the right interval — weekly is mostly noise, quarterly is too sparse to be useful.
- Compare side by side on specific landmarks, and pair the photos with a waist measurement and one lift number.
Spend ten minutes setting up the spot this week. The series you start now will be genuinely readable by November, which is more than can be said for most people’s camera rolls.
Keep Reading
This article is for general informational and styling purposes only. Fit, sizing, and product availability may vary.