The Three Things Your Progress Photos Need — and Why Yours Look Random

Quick Answer: Useful progress photos require three controlled variables: identical lighting (same room, same time, same lights on), identical camera distance and height (mark the floor and use a fixed surface), and identical time relative to food and training (morning, before eating, is easiest to repeat). Change any one and the visual difference between two photos will exceed the actual physical change.
You compared week one to week six and concluded nothing happened. Or that everything got worse.
Before you believe either photo, check whether they were taken under the same conditions — because almost certainly they were not.
Why do two photos of the same body look so different?
Three variables dominate, and none of them are your body.
Lighting direction changes visible definition more than months of training. Light from above and in front casts shadows that emphasize muscle separation; flat light from behind the camera erases it. Same body, same day, two lighting setups, and the difference reads as several months of progress.
Camera distance distorts proportion. A phone held at arm’s length exaggerates whatever is closest to the lens. Standing three feet from the camera versus eight feet changes apparent limb thickness and waist-to-hip ratio noticeably, and phone photos are usually taken closer than people realize.
Camera height changes everything below it. A phone at chest height versus hip height alters the apparent length of your legs and the angle of your torso. Propping the phone on whatever is nearby guarantees this varies.
And your body genuinely fluctuates day to day. Water retention from sodium, carbohydrate intake, menstrual cycle phase, and sleep all shift how you look by a visible margin, entirely independent of fat or muscle.
Stack all four and the noise is far larger than the signal over any period shorter than about eight weeks.
How do you actually control the three variables?
Set it up once and repeat it exactly. Ten minutes now saves you months of misreading.
Lighting: pick one room, one time of day, and one lighting state. Overhead light on, curtains in the same position. Morning is easiest because natural light is more consistent early than late. Never mix a daylight photo with an evening one.
Distance: mark the floor. A piece of tape where your feet go and a fixed spot for the phone. Six to eight feet away is far enough to avoid lens distortion.
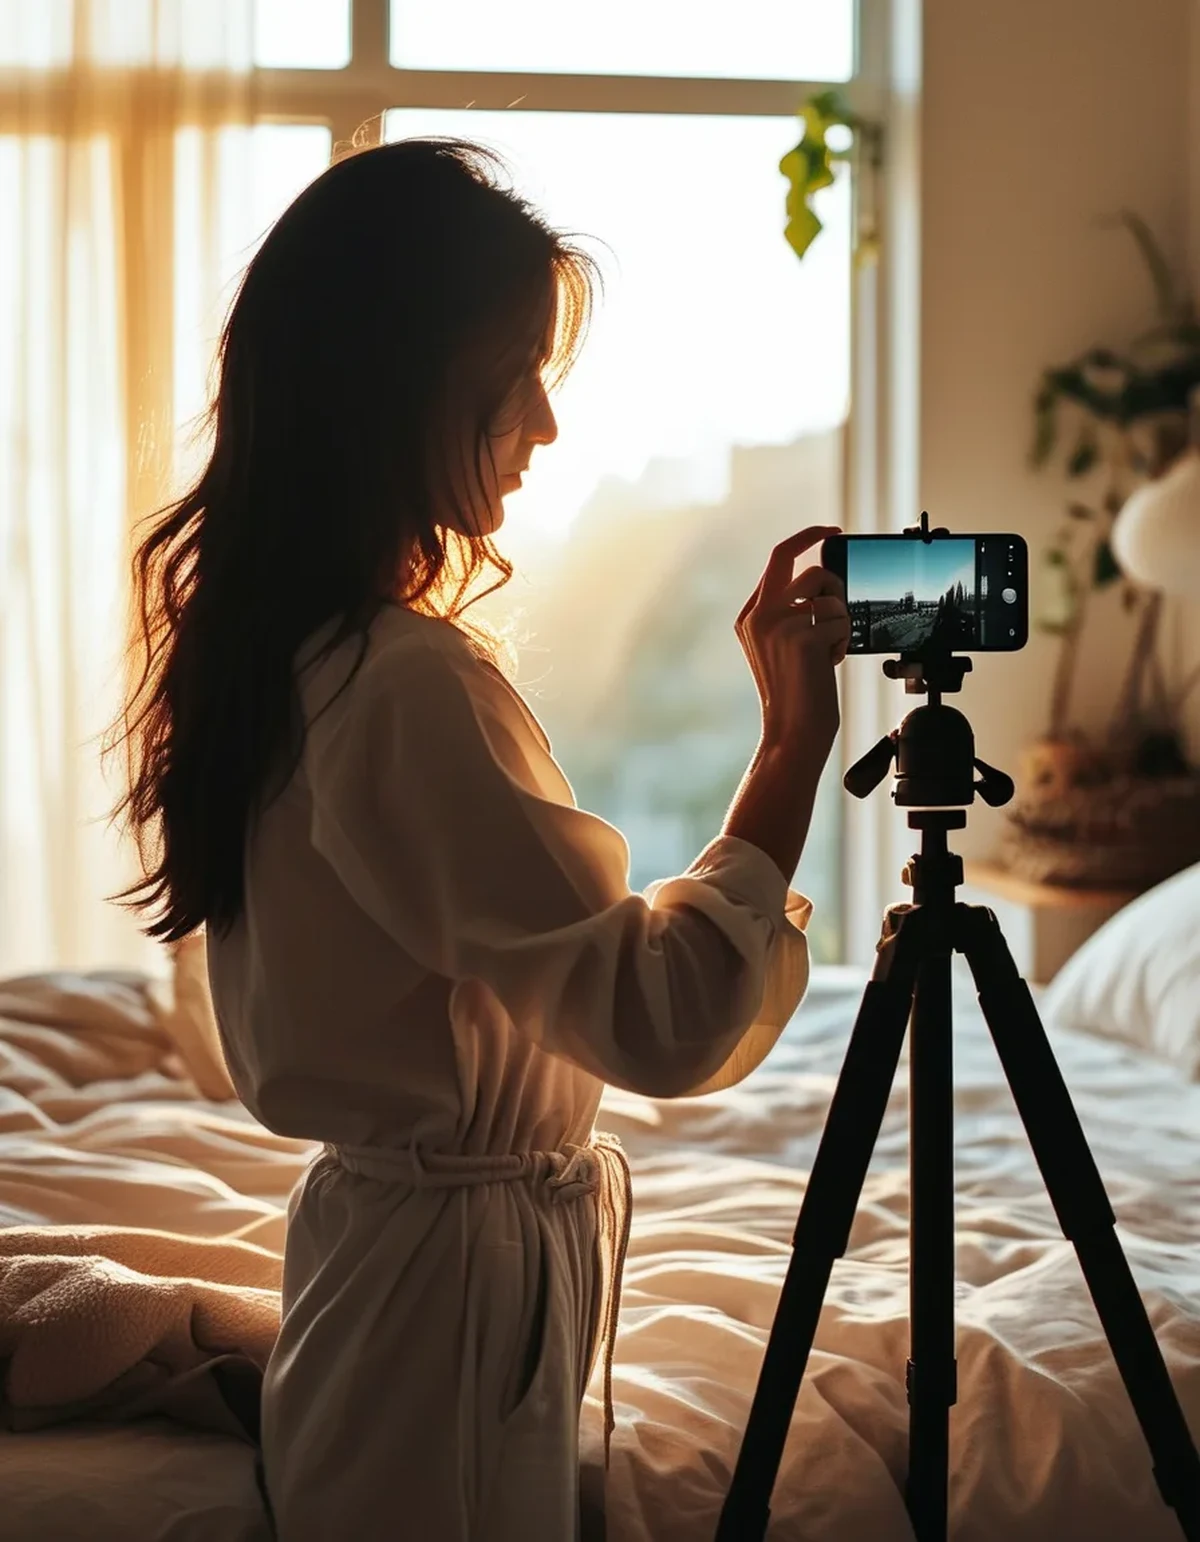
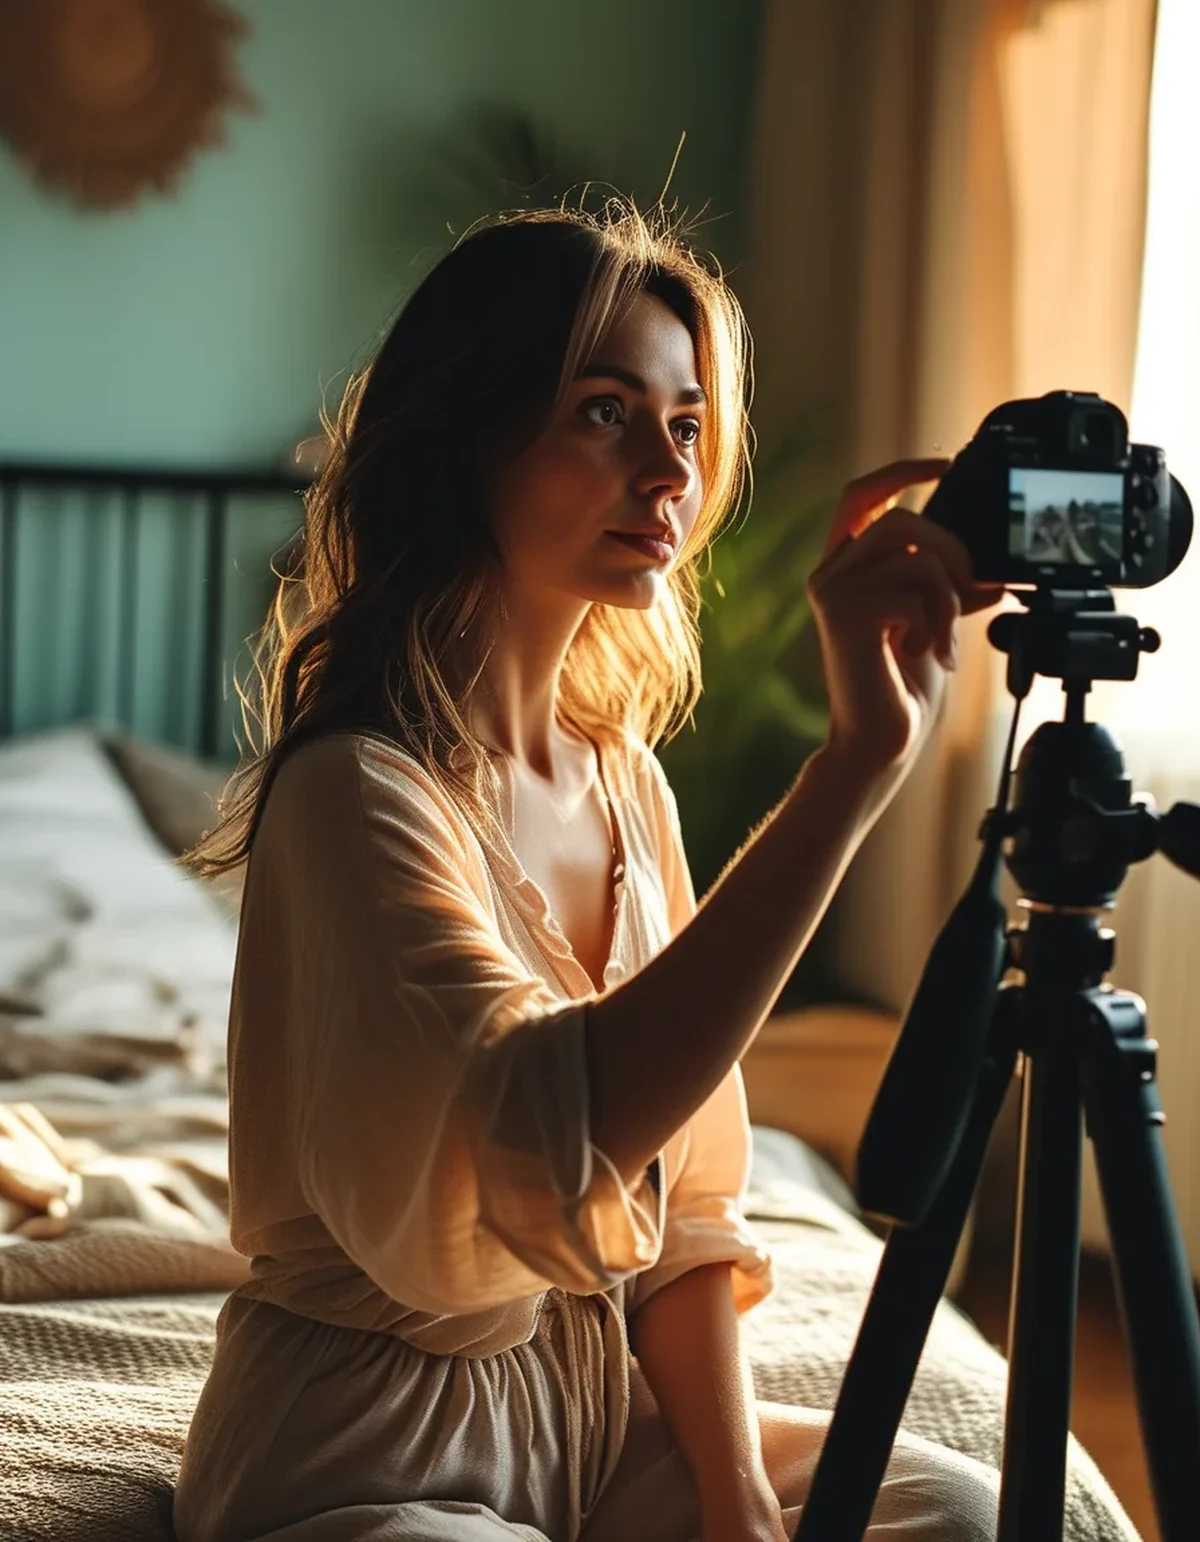
Height: use the same surface every time. A shelf, a dresser, a tripod. Roughly navel height keeps proportions honest.
Timing: morning, after using the bathroom, before eating or drinking. This is the most repeatable physiological state available.
Same clothes, same poses, three angles — front, side, back. Relaxed, not flexed, and take the relaxed one first before you have thought about it.
Then take a screenshot of your setup so you can reproduce it in six weeks when you have forgotten the details.
Myth vs Fact: Progress Photos
Myth: Weekly photos show progress best. Fact: Weekly intervals are dominated by daily fluctuation. Four to six weeks is the shortest interval where real change reliably exceeds the noise. Take them weekly if you like, but compare only across six-week gaps.
Myth: Flexed photos show your real progress. Fact: Flexed photos vary enormously with how hard you flexed and how recently you trained, which makes them the least comparable image you can take. Take relaxed as the primary and flexed as a secondary if you want it.
Myth: The scale is more objective than photos. Fact: Scale weight swings 2 to 5 pounds daily from water, food volume, and glycogen. Controlled photos are arguably more reliable than a single weigh-in for body composition change, provided the conditions are actually controlled.
Myth: A pump after training makes photos look better, so take them then. Fact: It does look better, and that is exactly the problem — you will not reproduce the same pump six weeks later, so you will compare a trained photo to a rested one and conclude you went backwards. Consistency beats flattery here every time.
Myth: Phone camera settings do not matter. Fact: Portrait mode, beauty filters that are on by default on some phones, and even switching between the wide and standard lens all change the image materially. Use the standard lens with any smoothing turned off, and check that it stays off after software updates.
What should you actually look for when comparing?
Specific things, not an overall impression.
Pick three landmarks before you compare. Waist at navel, the line where the shoulder meets the arm, and the gap at the side of your leg. Comparing specific points is far more reliable than looking at two photos and forming a feeling.
Look at the side photo first. Front-on views hide most changes in the torso; the profile shows abdominal and postural change earliest.
Compare only the same angle. Front to front, side to side. This is obvious and people still compare a flattering side shot to an unflattering front one.
Put them side by side at the same size. Viewing them one after another in a camera roll lets memory fill in the difference in whichever direction you expected.
And judge across three intervals, not two photos. Week 0, week 6, week 12 tells you a direction. Two photos tell you a difference that might be noise.
Fall note: as daylight shortens through September and October, natural-light photo times shift. If your setup depended on morning window light, expect to switch to a consistent artificial light source by mid-autumn — and take one overlap photo under both conditions so you can calibrate the change.
FAQ: Progress Photo Questions, Answered
How often should I actually take them?
Every two weeks is a reasonable capture rate, but compare across six to eight week gaps. Frequent capture gives you a longer record to look back on without tempting you to draw conclusions from intervals too short to mean anything.
Should I take them in the morning or the evening?
Morning, before eating, is the most repeatable state — overnight is the longest predictable gap without food or fluid you get. Evening photos vary with everything you did that day, which makes them harder to compare even under identical lighting.
Why do I look worse in photos than in the mirror?
A mirror shows you a live, moving, three-dimensional image that your brain integrates over time and at your own preferred angle. A photo is a single frozen frame at one moment, at whatever angle the lens caught, with a lighting setup you did not choose. Neither is more true — but only the photo is comparable across time, which is the only reason to take it.
TL;DR:
- Lighting, camera distance, and camera height change your appearance more than six weeks of training does.
- Mark the floor, fix the phone height, and shoot the same room at the same morning time.
- Compare relaxed photos across six-week gaps, not weekly, and use three specific landmarks rather than an overall impression.
- Turn off portrait mode and any default smoothing, and check again after phone updates. Spend ten minutes setting up a repeatable spot today. Every photo you take after that becomes usable data instead of another ambiguous image.
Keep Reading
This article is for general informational and styling purposes only. Fit, sizing, and product availability may vary.